Creatures 👹🛴
🖼️ Front End
April 29, 2019
This post roughly covers the process of creating the graphic style and developing the logic for the interface of my application.
Related Links:
GitHub Repository for template version of my front end - Source Code
😡 Challenges
Tackling the design and logic for my front end is essentially a process of trying to figure out what is the personalty of my app and how will users interact with it. In general, the project followed a path from design to development to testing.
🎨 Design
The following are some of the questions and tasks I wrote out to help me to figure out the project.
Branding
- Are there terms your users need to learn?
- Does your app have some internal lingo?
- What is your catch phrase or slogan? do you need one?
-
What is your app’s personality?
- Serious, Slick, Fun, Quirky, Stupid etc..?
Graphic Design
- What are your app’s colors?
-
Is there a design principle behind your color choices?
- Monochromatic, Complementary, Analogous, etc.
- Is there a theme to your app?
- How does your theme relate to scooters?
- What is your logo and how does it relate to your theme, color, branding?
👩💻 Development
- Do I want to create a web app? or create a mobile app?
- Fill website with content / answer our user’s questions.
- Handle user login - Authorization flow
- Accept Payments - Payment flow
-
Decide on Approach
-
Will I use any existing front end frameworks / libraries to help with the logic of my app?
- React, Angular, Vue, etc.
-
What existing resources will I use to help with the design of my app?
- Bootstrap, Blueprint, etc
-
📋 Practical Matters
- Registering for a domain
- Deploying to the web
💣 Testing
- Poke your website, see where it breaks
- Is your website responsive?
- Does it work on most browsers
🤔 Solutions
🎨 Design
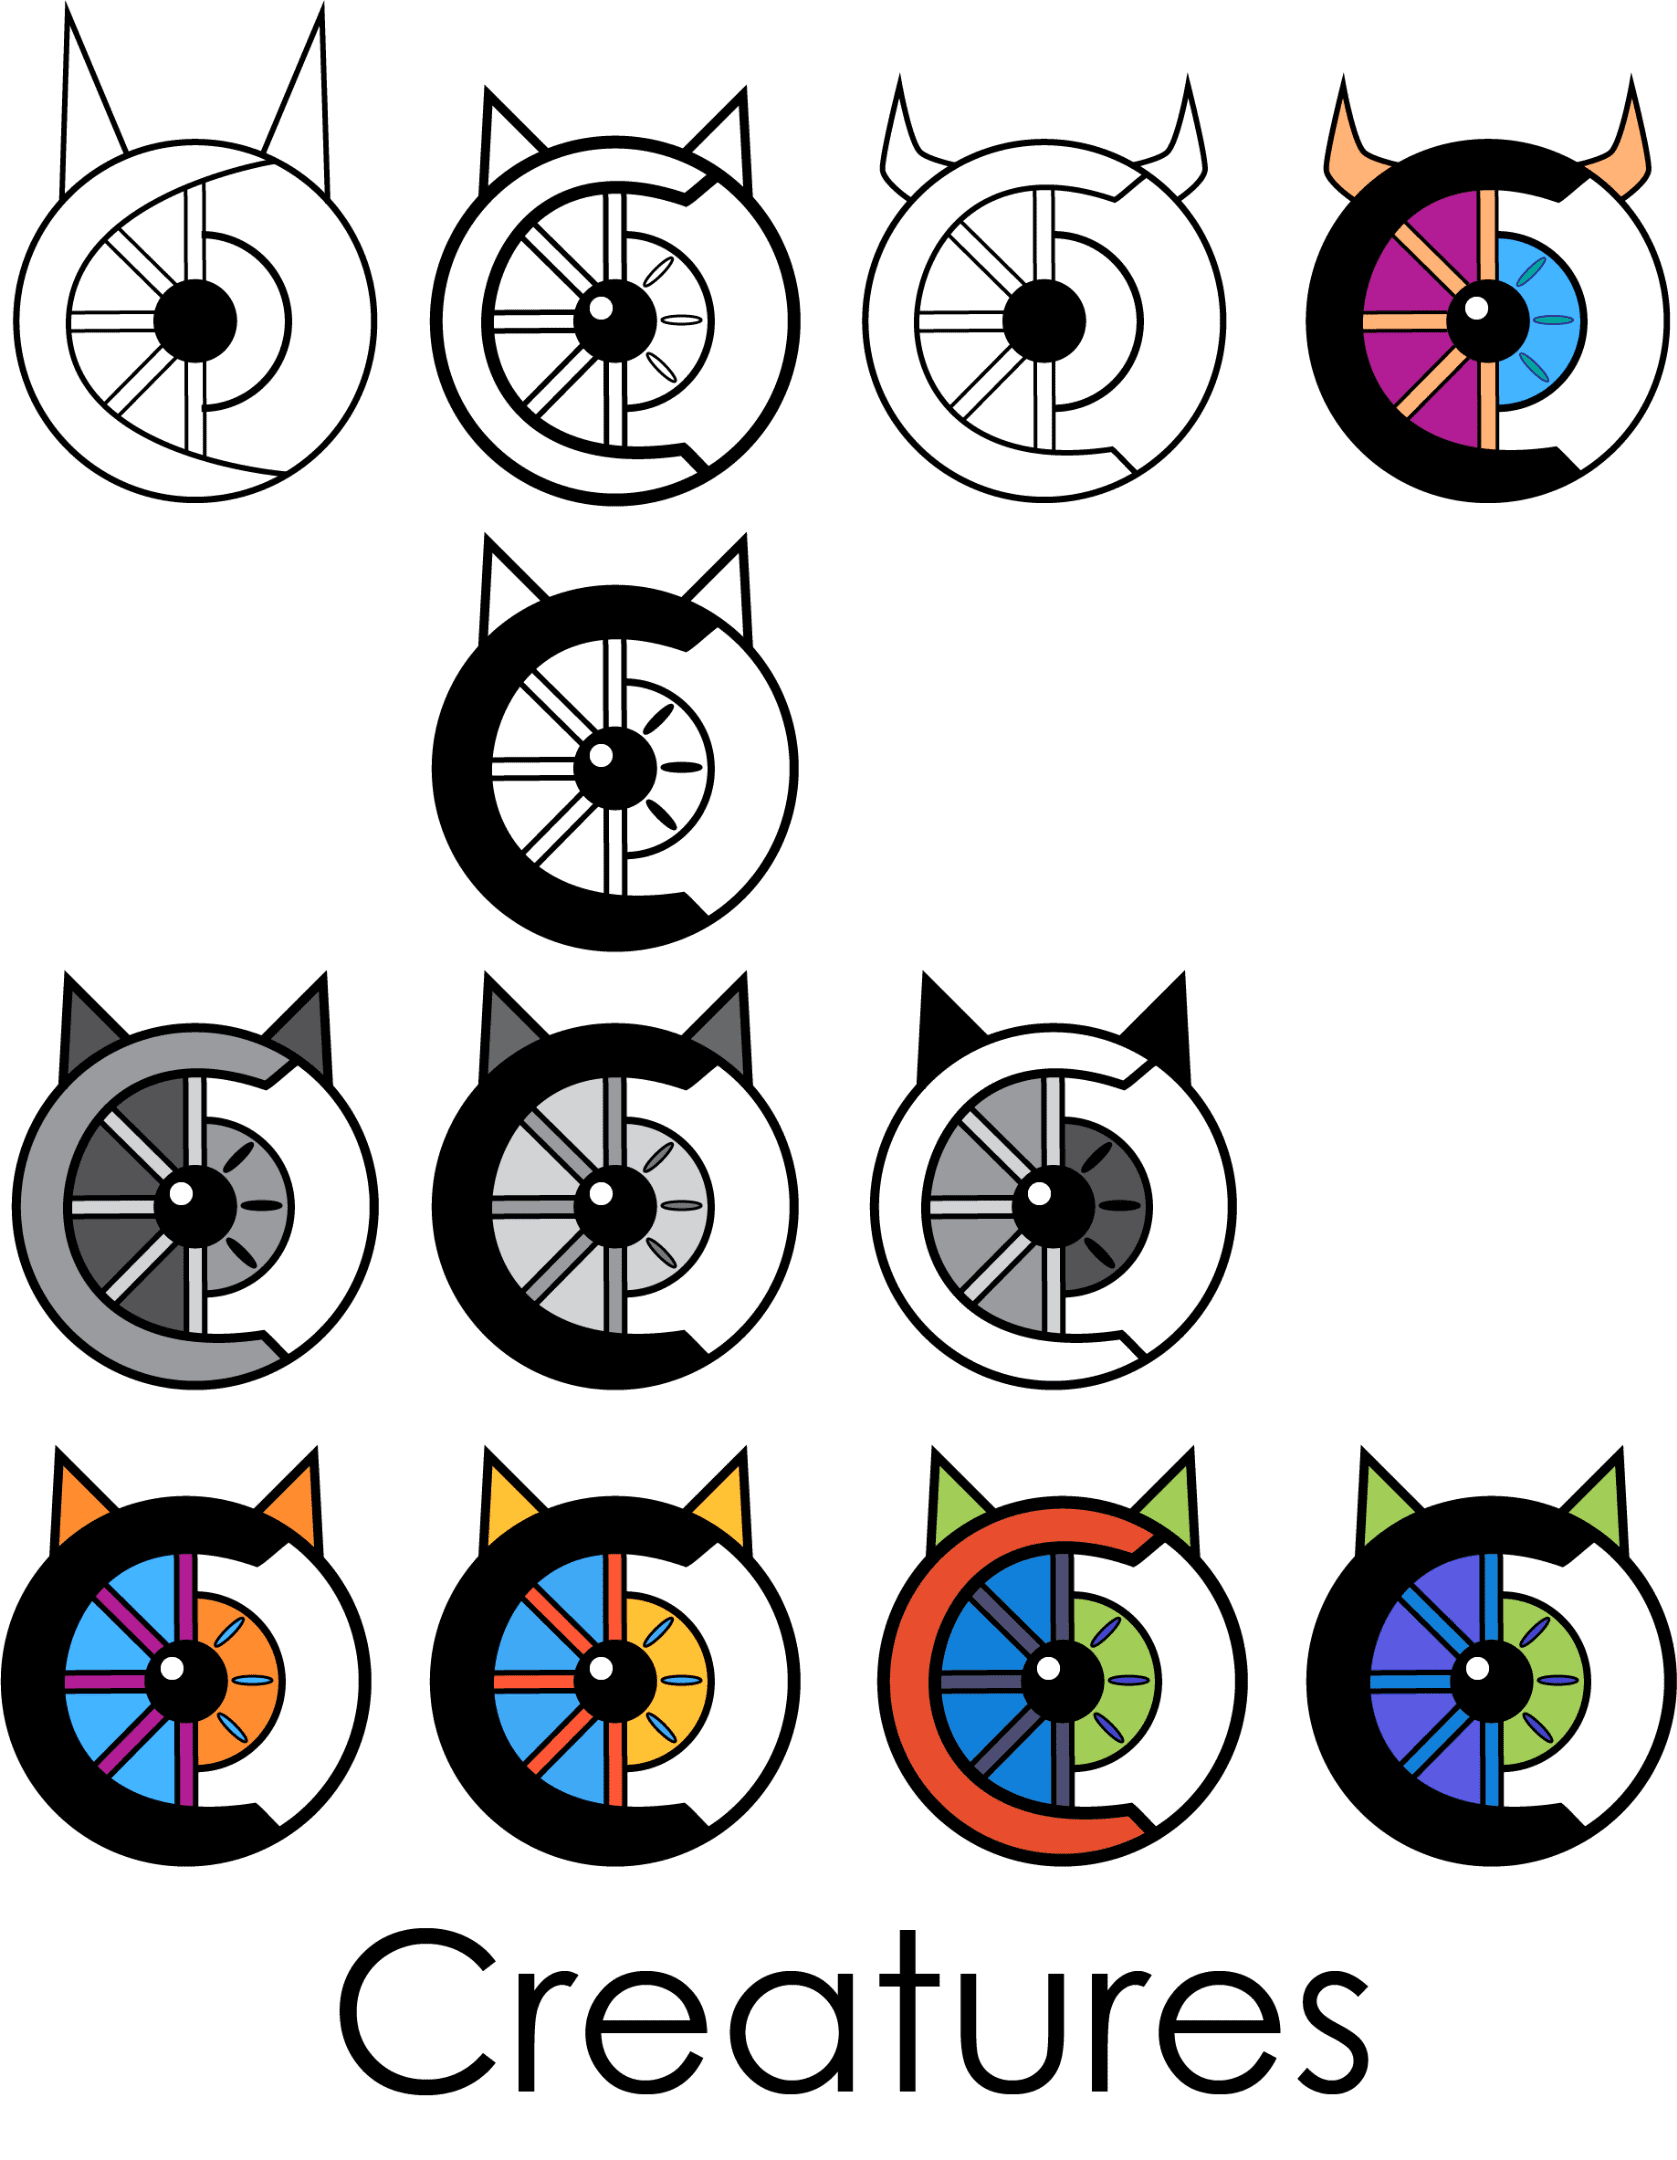
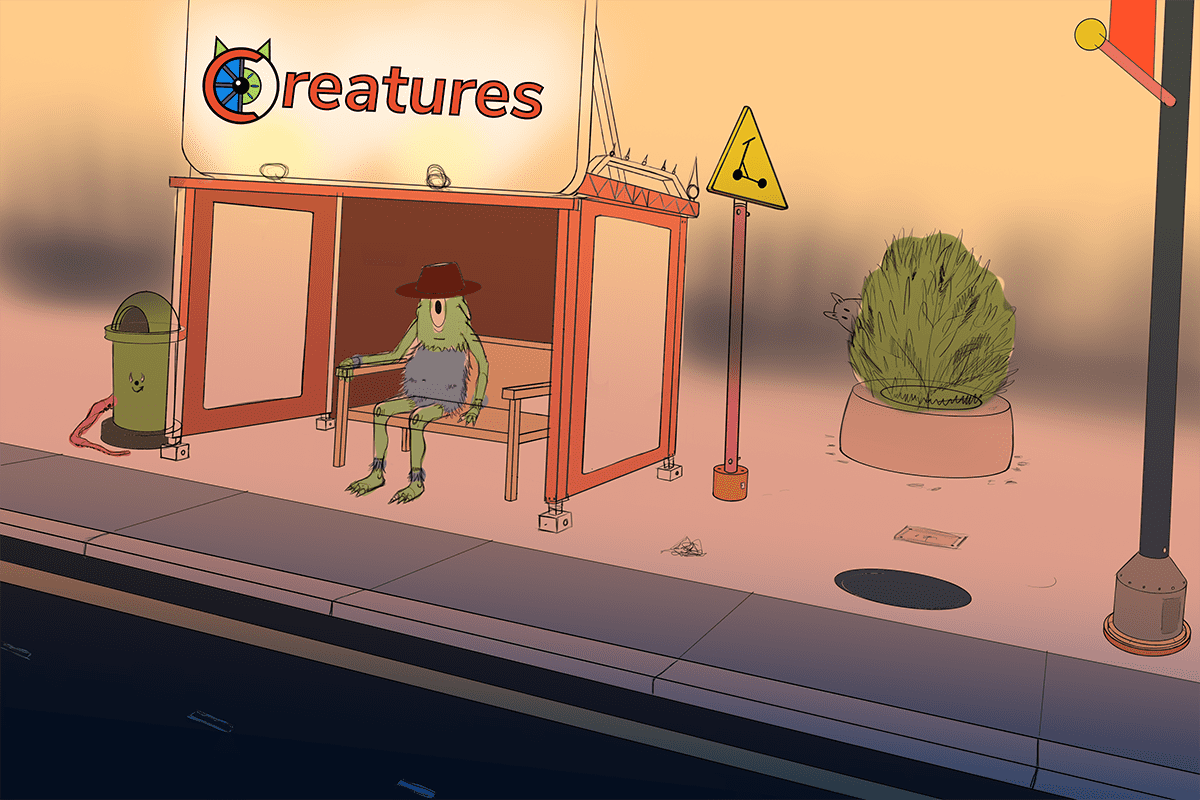
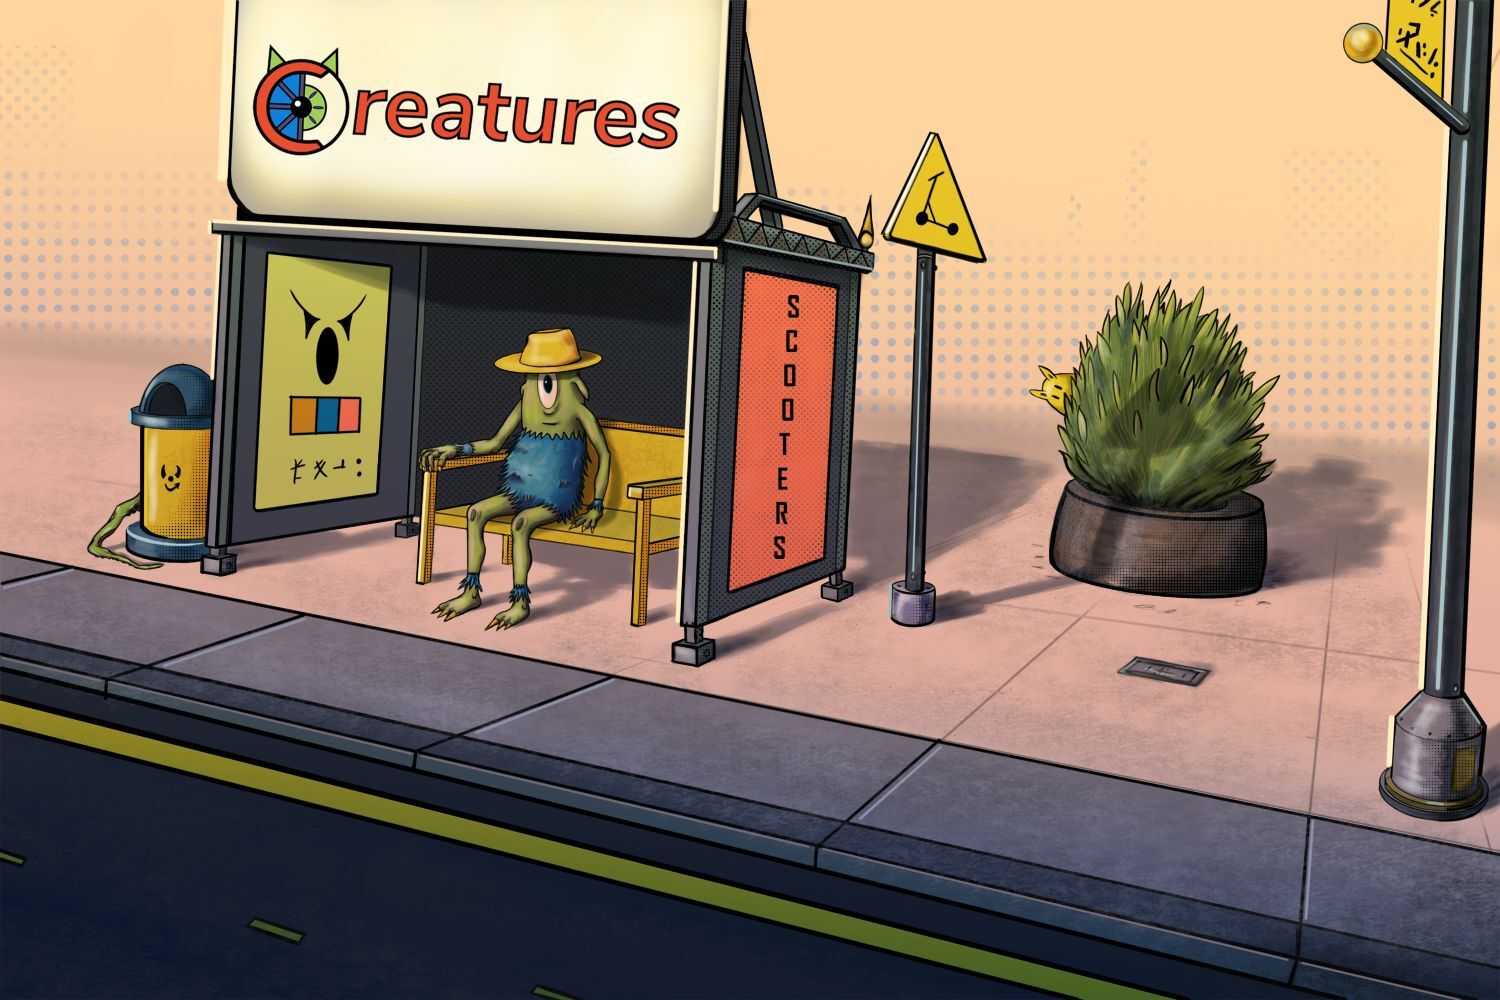
Before starting work on the design, I had a rough idea in my head on how I wanted to approach the design. I knew that I wanted the design to be fun, and fun to make. I did not want the design to seem corporate, slick, or minimal. I wanted the design to be arty, illustrative and kind of weird. Keeping with weird, the idea that I came up with is that each scooter would be a unique “creature” and that users would discover them out in the wild. (sort of like Pokemon meets Bird scooter app). Each scooter would be paired with a creature illustration and brief background story.
Logo
The first task I set out for my self was designing the logo. Starting with the logo helps, to set the mood for the rest of my design assets and to define some of the core colors.
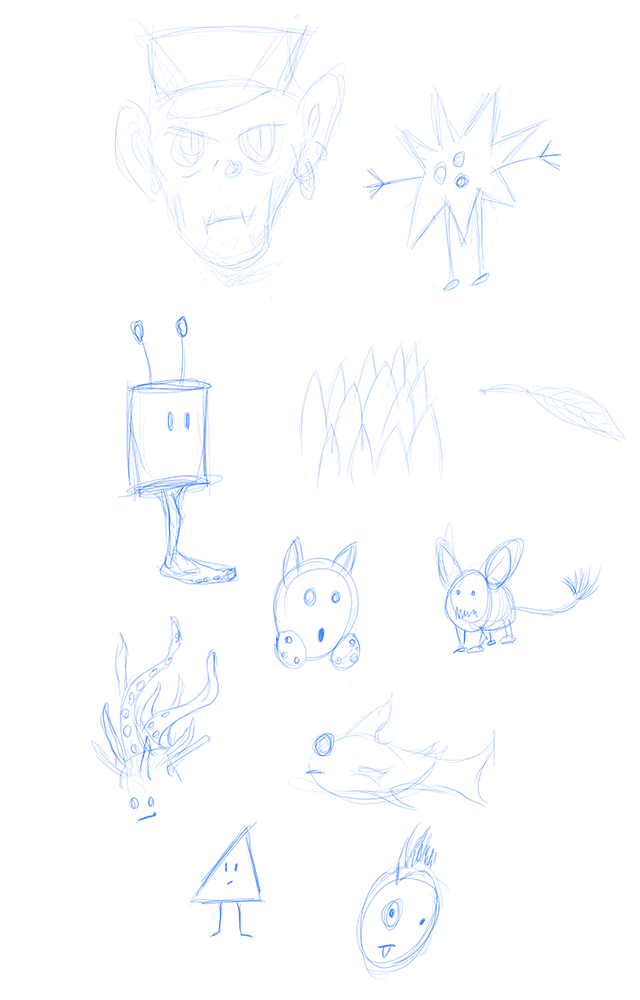
First step, blue pencil thumbnails:
![]()
Next step slowly refine the design in Adobe Illustrator
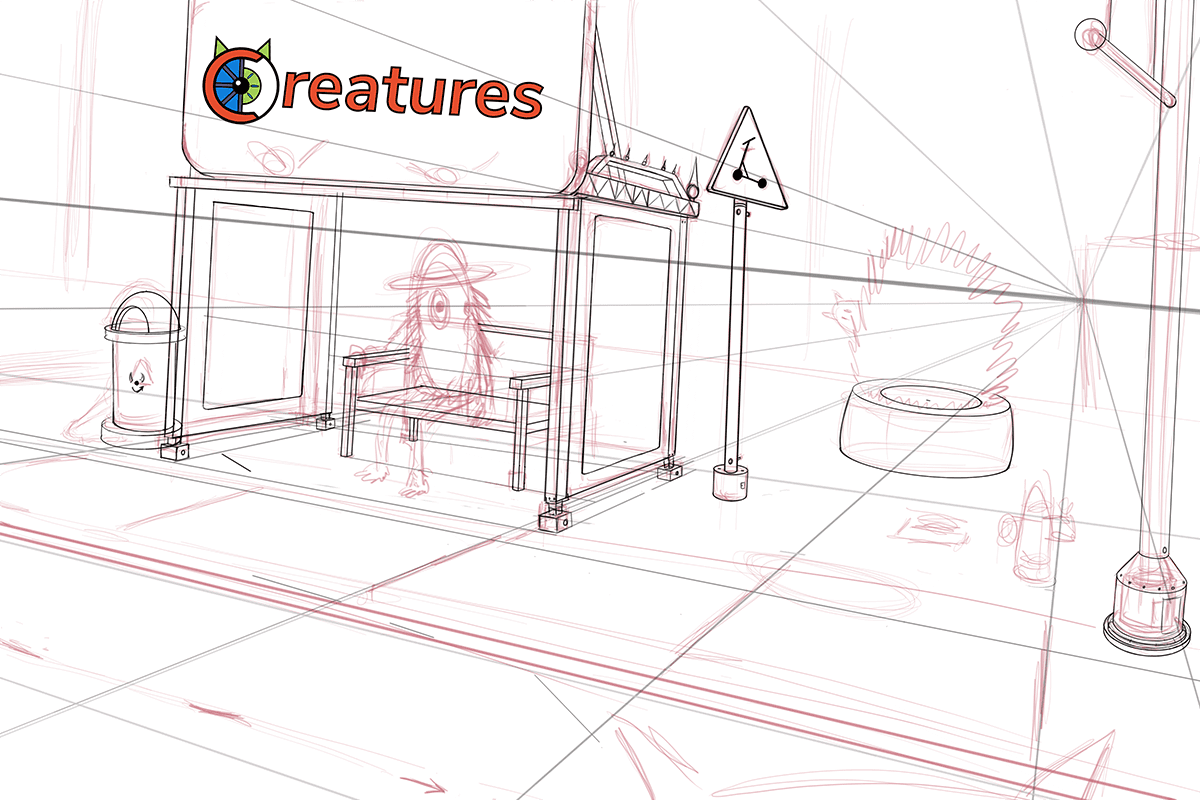
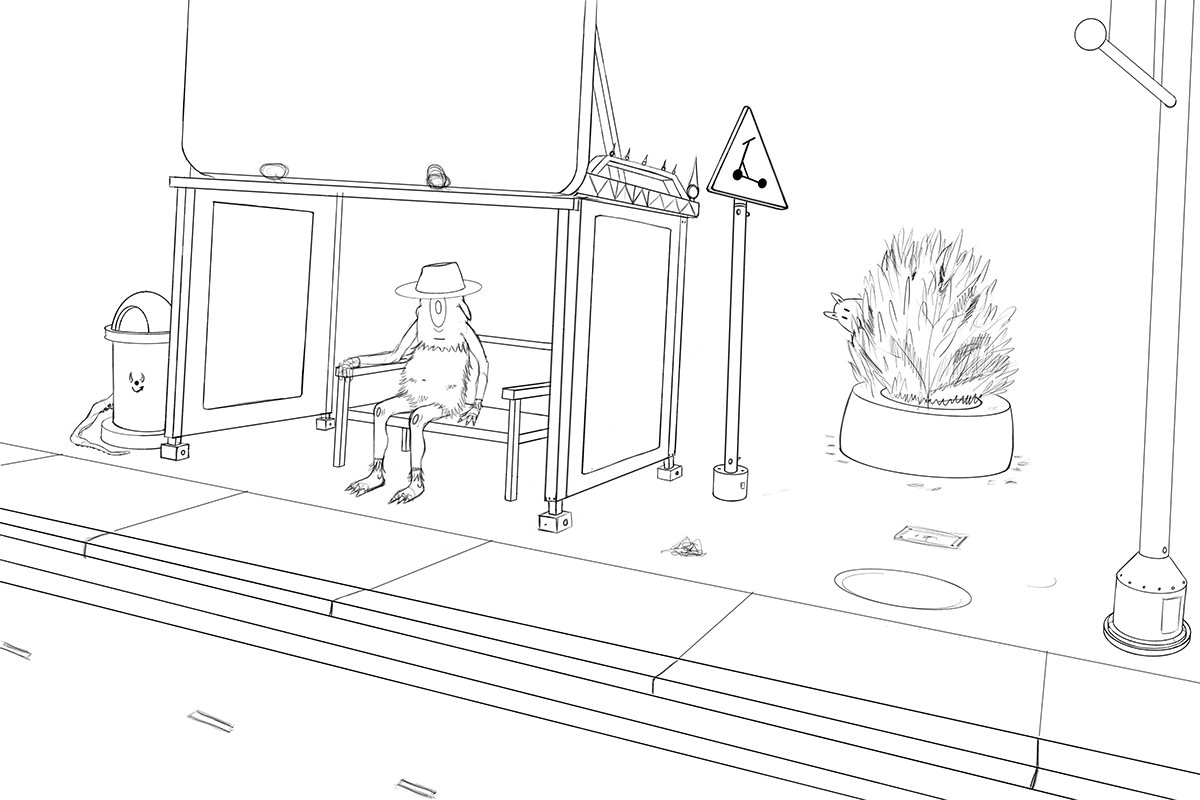
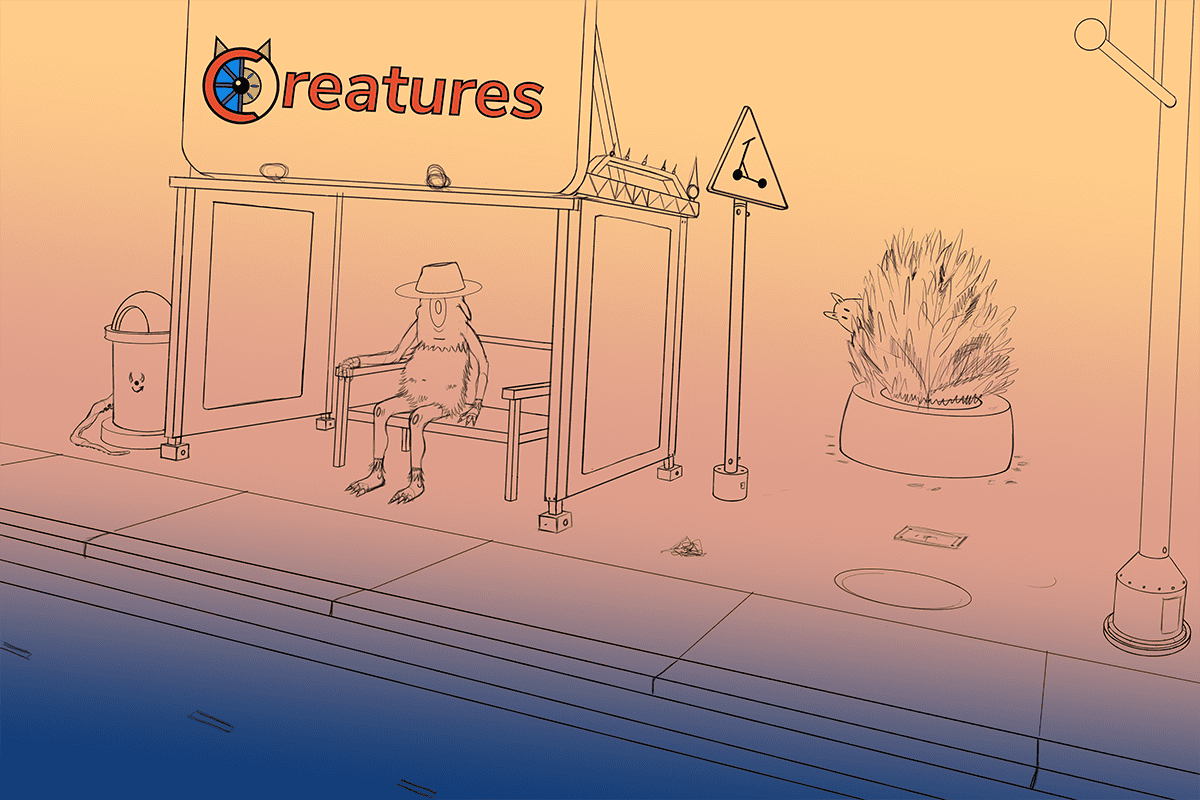
Sketch the layout and hero image
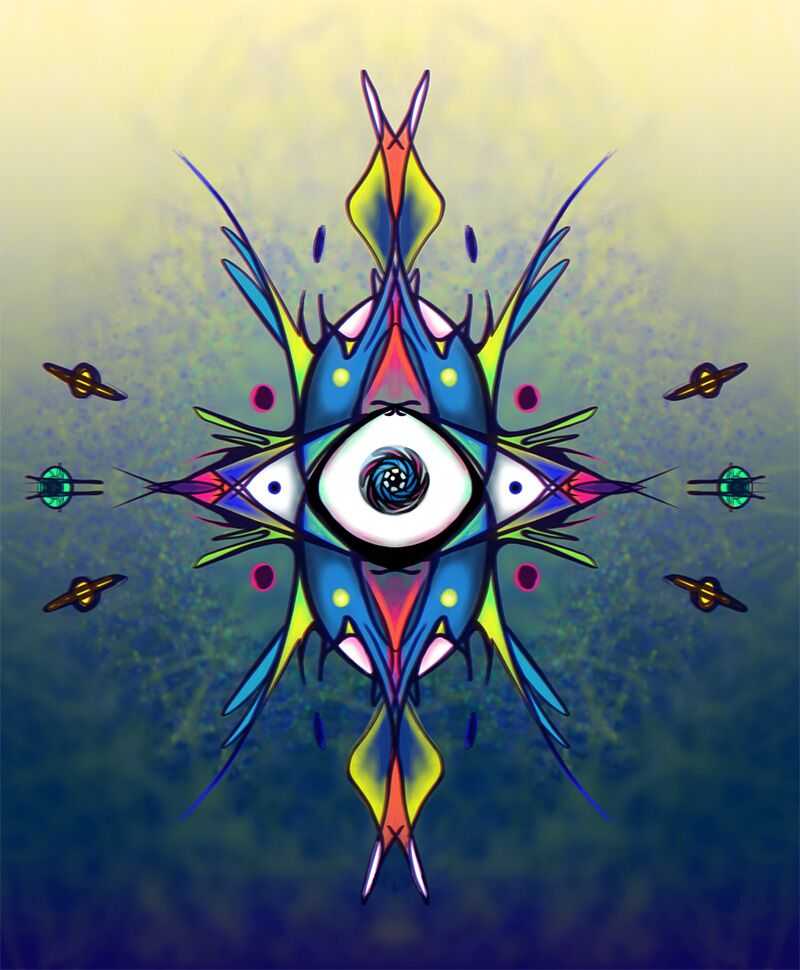
The next task is to figure out the layout for the website and create a hero image. I wanted my site to open up with a large hero illustration, setting the tone for my site. Additionally the illustration gave me an excuse to do some painting 🖌️
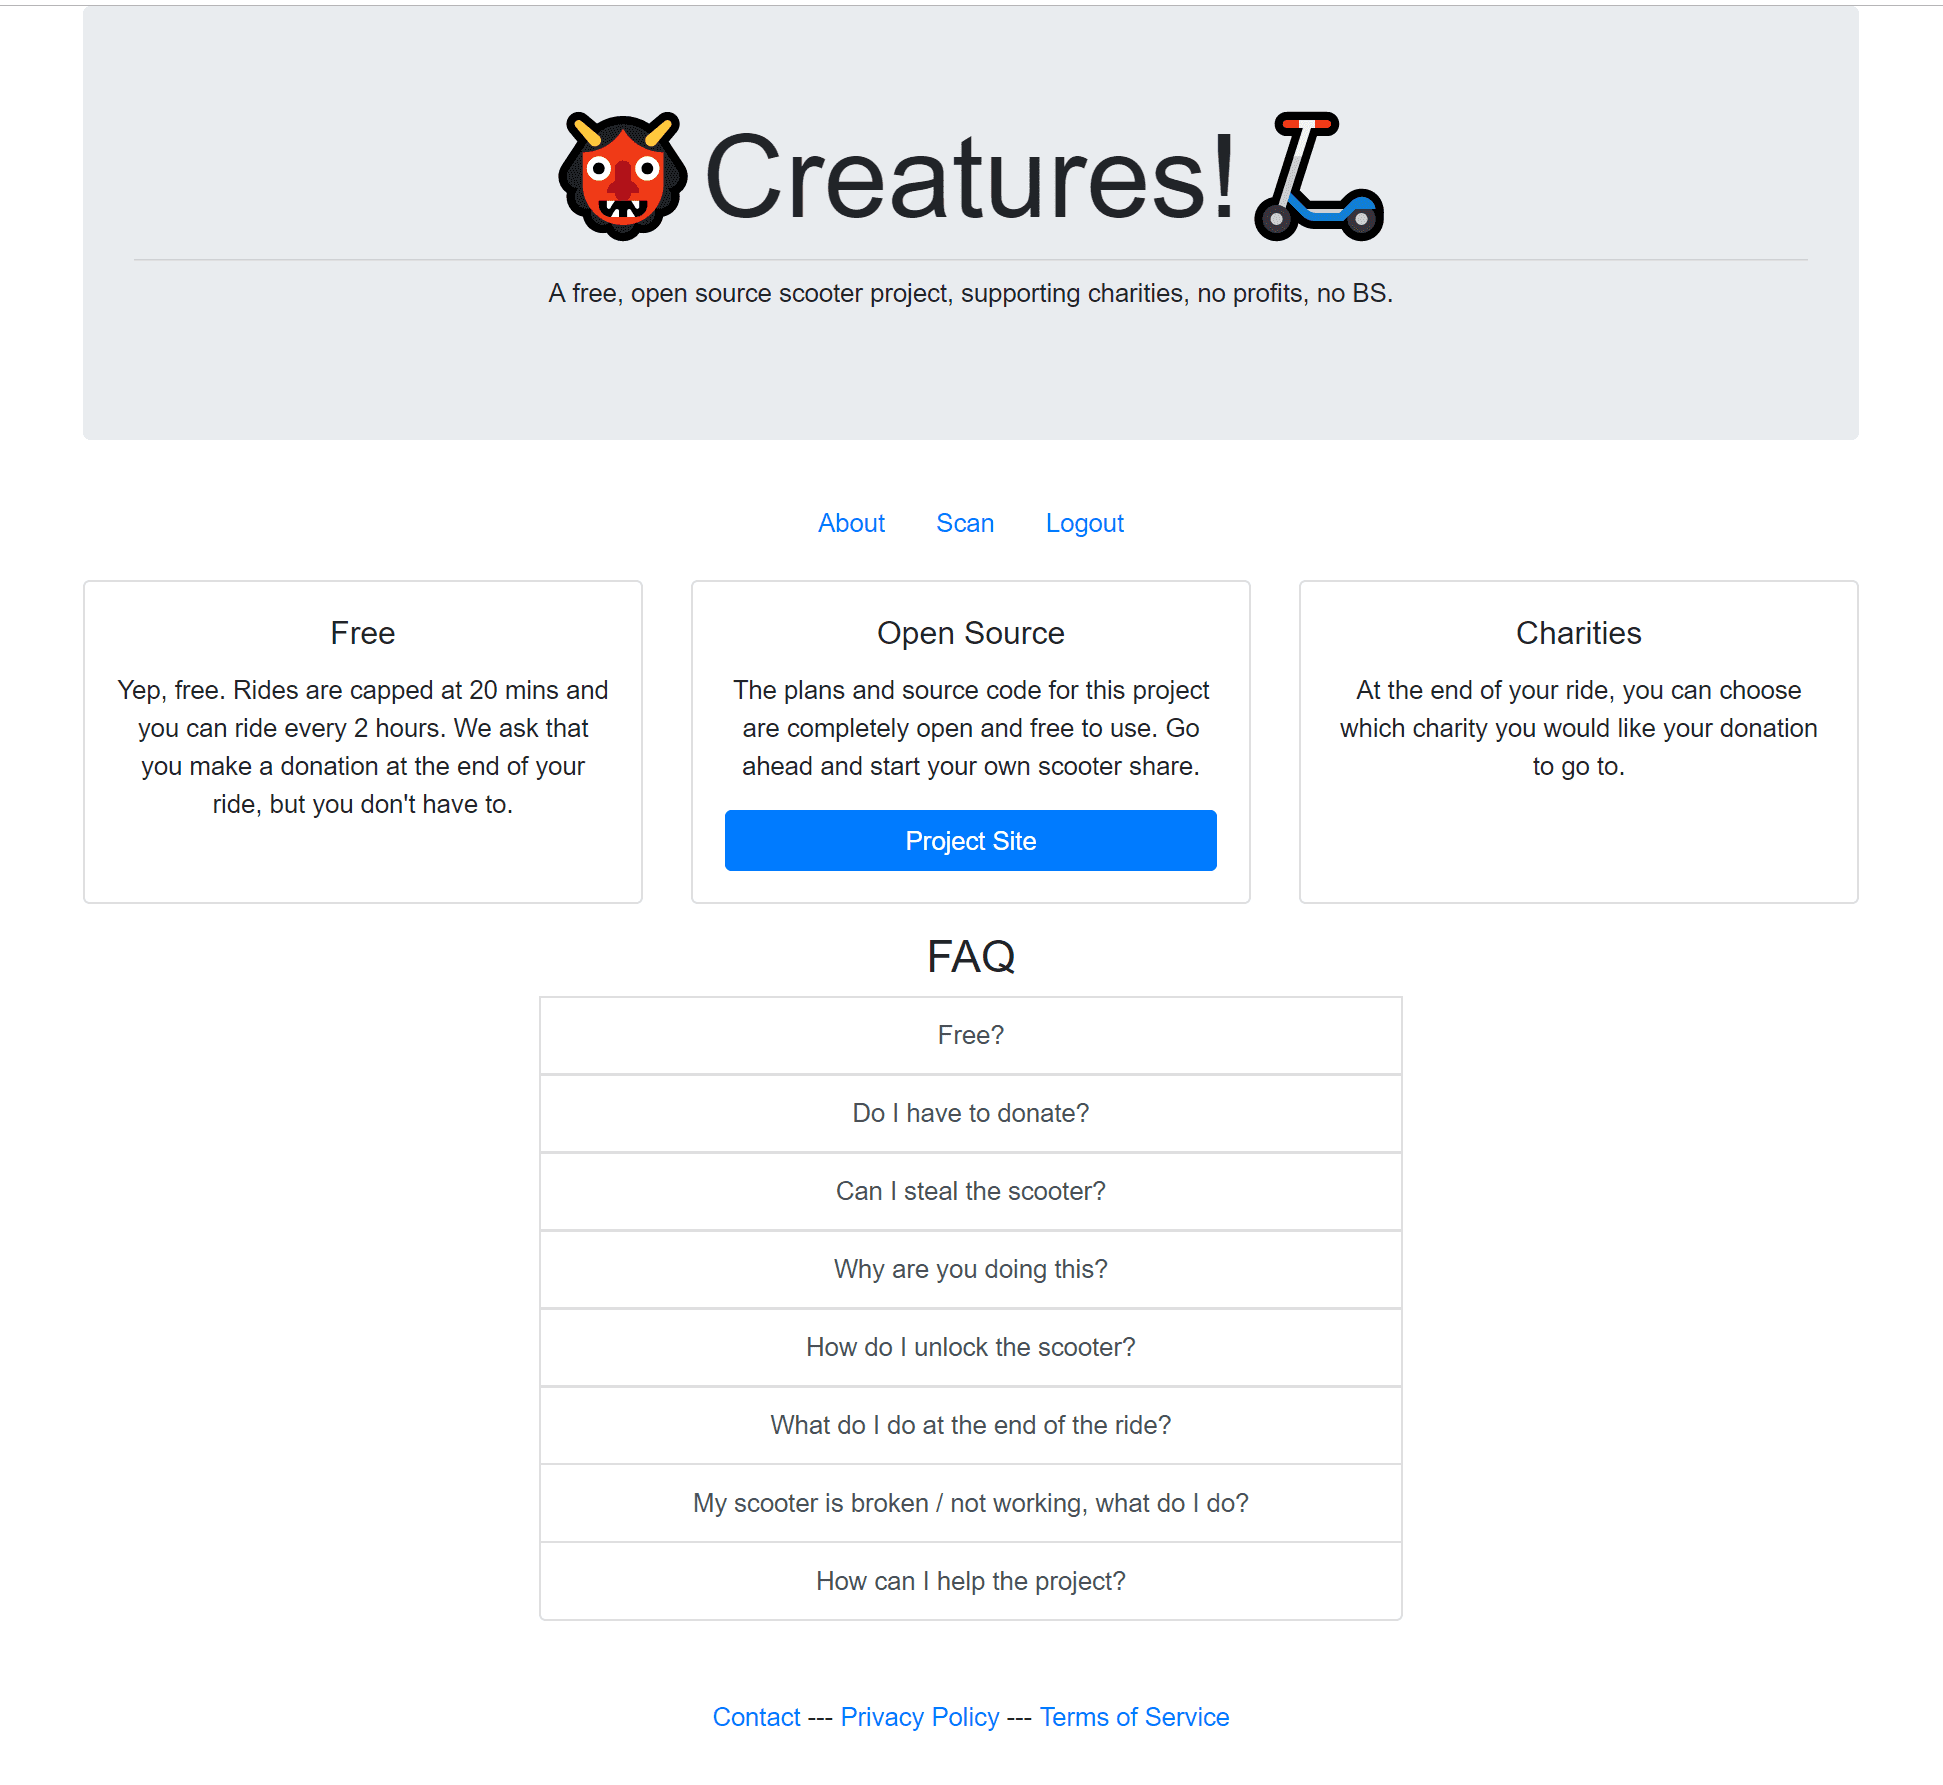
The layout for the home page will contain: info explaining the app, an FAQ, and a big shiny button to sign up. The rest of the application’s interface will be links to policy documents and a system to handle scooter management.
Paint the hero image
The software, I used to make my illustration is: Autodesk Sketchbook, and Krita both are free and excellent.
Other site assets
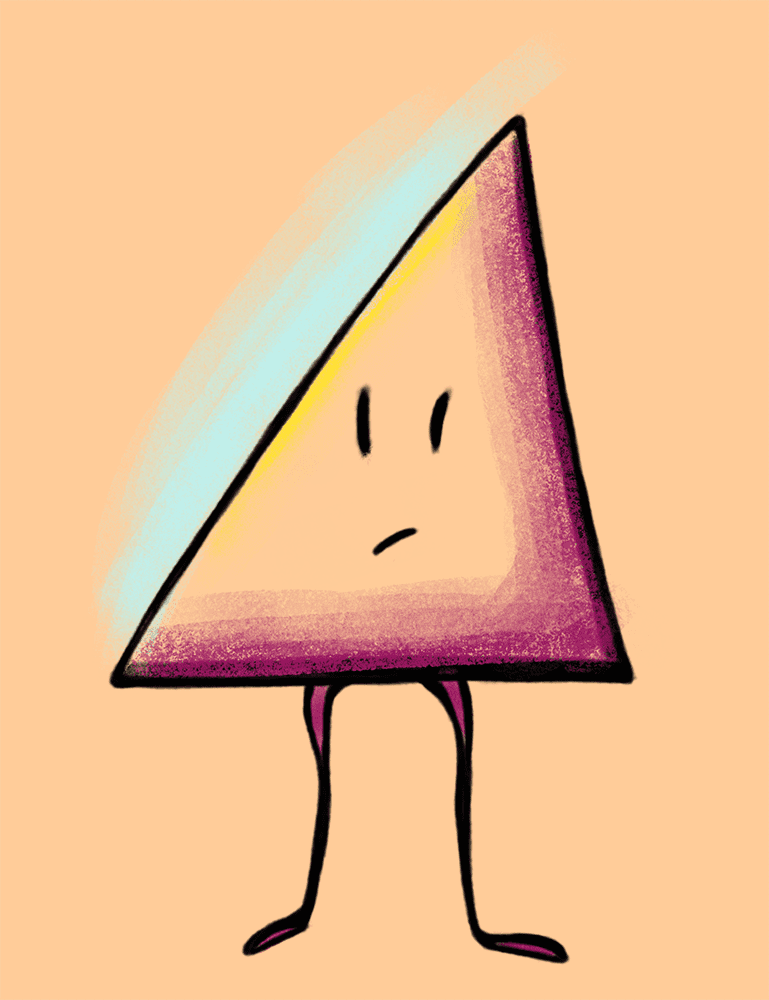
After finishing the illustration, I spent some time creating a few little guys to populate my site.
🔤 Fonts:
Fonts are an important aspect of a site’s personality. For my fonts, I used Google Fonts, they have a bunch of free fonts to use and you can simply link to their CDN so that you do not have to download or install anything.
When choosing fonts I try to follow these guide lines:
- Use serif fonts for large blocks of text.
- Relate your font choices to your theme, do they feel right?
- Use different fonts to signal the reader for different types of info.
The fonts I used in my app:
| Font | Use |
|---|---|
| Nunito | primary body text |
| Nunito Sans | logo and headers |
| Rokkitt | creature descriptions |
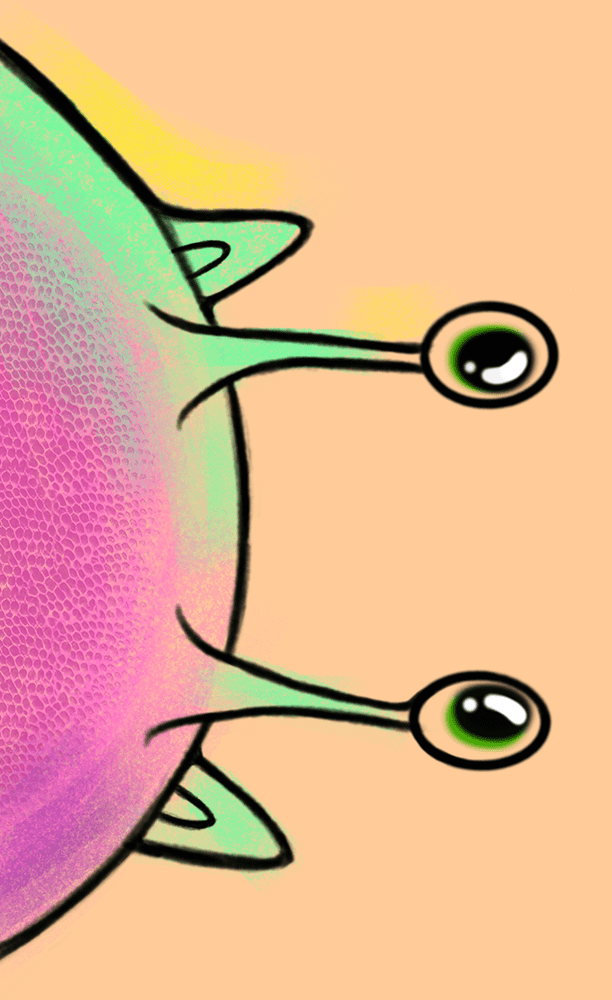
Creature Illustration:
The last asset I worked on is an illustration for the first “Creature”. The idea being that when a user scans a scooter it would bring up an illustration and a brief description of the corresponding Creature. My first Creature is “Zi”, an ancient, nebulous , spirit eye… thing 🤔

Creature description:
One of the ancient elemental creatures, formless, mysterious, and possessing vast power. Many tales and legends surround the origin of this creature. Some worship it as a god (the cult of I) others regard it as an evil spirit or doubt its very existence. Those believed to have gazed upon the creature, are oft heard repeating the phrase: “The eye knows. The eye sees…
With all my assets created, my next step is put them all together into a usable website. Strictly speaking this project did not progress linearly from design to development. In reality both design and development happened simultaneously.
👩💻 Development
Because people need to be outside to use one of my scooters, I can assume that my site will be visited mostly by mobile devices. That being the case, I will need to decide if I want to develop native mobile apps (andriod, IOS) or just a web app. After doing some research and looking into my project requirements, I found that I did not require any of the added features that a native mobile app provides such as bluetooth, sensor data, flashlight access, etc. By not having to develop native versions of my app, should save me a considerable amount of time and heartache.
🛠️ Toolkits, Libraries, Frameworks
An important decision when building a app is what tools will you use to build it. As much as possible, I try to make use of existing frameworks when building a site.
| Tool | Description / Use |
|---|---|
| Bootstrap | Super popular component library, makes it quick and easy to throw together a site |
| SASS | CSS extension, adds some nice extra features to css. |
| React | My favorite Javascript library |
| Reactstrap | Ready for React Bootstrap 4 components |
| React Router | A router that makes adding navigation to your react app easier |
| Font Awesome | Icon Pack - My site relies heavily on emojis, for icons however some times you need something that you cannot find an emoji for. |
| Hero Patterns | Repeatable SVG patterns to add texture to my site. |
| React Stopwatch | A stopwatch component built for React, I need a timer so that users can keep track of their ride time. Modifying an existing component is usually faster than starting from scratch. |
| React QR Reader | A QR reader component built for React. I needed a QR reader so that users can scan a QR code on the scooter. |
I chose the tools I did mostly based previous experience using them. It is always easier to go with what you know.
Create Mock Up:
I started by creating a simple mock up of the site using default bootstrap components. The mock up allowed me to focus on figuring out the logic and navigation of my app before worrying about importing any of my visual assets.
🗺️ Navigation flows
The following lists map out the paths a client can take when using my app. The ride flow has more steps than I would like, maybe in the future I will look at simplifying the process.
Signup flow:
- User signs up for app by creating a new account
- User confirms security code via email
- User is logged in
Ride flow:
- User signs in, if not already signed in
- User navigates to Ride page
- User either scans QR or manually enters code
-
App presents Creature illustration and description
-
If scooter is available, User will have the option to unlock the scooter
- other wise they will need to try again later
-
-
After unlock, the app routes to the stopwatch component, with start button
- User clicks on start ride
-
Ride ends after time limit or user presses stop button
Connect with AWS backend
At this point in the project, my back end was already setup on AWS. To help connect the API I setup on AWS with my front end I used Amazon’s Amplify Framework. I found Amplify’s documentation lacking in useful examples. I think the Amplify section on the Serverless Stack guide provides a really good example of how to use Amplify.
Combine mock up with visual assets
The final step after getting both sides of my app communicating, is to take my working mock up and combine it with the visual assets I made. After a lot fiddling, testing, and breaking stuff, I slowly got every to fit together. This part of the project was the most tedious part and probably took the longest period of time to complete.
To see the “final product”, visit: https://creature-share.com/
Configure to use Netlify
One last step for my site is to set it up for hosting on Netlify I could have used AWS for hosting, which seems like a natural fit because my back end is already on AWS, however I found Netlify better for these reasons:
- Automated deployments - I only need to push to a git repo to deploy a new version of my site.
- Automatic SSL is a lot easier than manually creating one with AWS Certificate Manager.
- Builtin CDN, AWS cloud front can be a pain in the ass to setup, with Netlify you don’t have to do anything to setup your site on a CDN.
🏁 Conclusion / Final steps
At this point, I have a working proof of concept site. The next step for this project is to figure out the scooter hardware and get it communicating with my app. My site is by no means a production ready app. I purposelessly left out necessary features like payment, because I do not currently intend to try to make my app into a working business. For me, the purpose of making Creatures was to learn and have fun. However, if I was going to try to make a production ready site, here are some things I would try to implement:
😐 Current Issues / Improvements:
- Provide users the ability to delete their account.
- Allow users to see ride statistics, ride history, creatures ridden
- Allow users to locate Creatures via a map interface
- Add Payment / Charity option
- Provide a more granular time keeping / billing logic
- Allow users to see the battery level of scooter
- Provide users the ability to have the Creature make a chirp sound to aid in locating it.
If you are interested in starting your own scooter share, I put together a repo with a generic version of the front end.

A blog about Creatures an open source scooter share project
Started by Joshua Sheridan